Displaying reports 141-160 of 88941.Go to page Start 4 5 6 7 8 9 10 11 12 End
Reports until 15:13, Friday 07 August 2026
H1 ISC
keita.kawabe@LIGO.ORG - posted 15:13, Friday 07 August 2026 (91450)
PR3 moved to O4 slider (not OSEM), next we need IM4 scan

I've moved PR3 back to latter half of O4 based on the slider, not OSEM.

Assuming that the ITMX angle is good and the beam deflection angle through the BS is the same as before, the plan to get ready for the arm peeking is as follows.

Find a good IM4 angle where the ITMX reflection comes back to ISCT1 camera (Louis is working on it).

Once that's found, align PRM, refine PRM and IM4 alignment to have a good PRX flash.

After that we might have to walk the beam on PR2 without touching ITMX and PR3. Unless there's a convenient script to do that, you'll move IM4 a bit, change PR2 so that ITMX retro reflects, and change PRM to recover PRX.

By iterating, you'll eventually settle on the beam position on PR2 that will give you an ok signal on LSC or ASC (hopefully both) POP sensors in HAM1. 

Also work on the ISCT1 alignment for the ALS beam, but this will be on Monday.

Images attached to this report
H1 CDS
marc.pirello@LIGO.ORG - posted 14:17, Friday 07 August 2026 (91448)
CER Kepco Power Supplies

WP13495

The following supplies were replaced in the CER Mezanine.

Kepco Power Supply in VDD-C6 Rack, Left Slot U31-29, ISC-R3&R5 +24V
Old S12001945
New S12001992

Kepco Power Supply in VDD-C6 Rack, Right Slot U31-29, ISC-R3&R5 -24V
Old S1201946
New S1201947

The negative supply was oscillating between 22V and 21V when measured before replacing, possibly due to failed fan.  New supplies were adjusted to +/-24V at the racks.

Caroline C, Marc P.

H1 IOO (IOO)
keita.kawabe@LIGO.ORG - posted 13:41, Friday 07 August 2026 (91443)
To the operators: What to do when JAC lost lock and JACK_LOCK cannot lock it because WFS went crazy.

This morning JAC lost lock due to temperature drift (temperature control was on) and at the same time WFS went crazy. After that JACK_LOCK guardian couldn't lock it, just kept scanning without success because the alignment was very much off.

When this happens, what you should do is:

For the lockloss and WFS behavior see jac_lockloss.png.

 JAC lock voltage was drifting lower and lower, which meant that you must have cooled JAC down, but the temperature servo was heating it more. Ultimately we need a temperature servo to keep the lock PZT voltage constant rather than keeping the temperature sensed by the thermistor.

After the lock voltage alredy hit the bottom rail, it took about a minute for JAC to completely lose it. During this time, JAC_L error increased as the JAC slowly became off-resonant, and of course the same signal is seen by all WFS segments. Since WFS centering is not perfect, this increased WFS P and Y signal. JAC ASC tried to counter this by twisting JM1 and the PZT mirror without success.

Finally the WFS was turned off but mirrors were already heavily misaligned at that point. 

Images attached to this report
LHO VE (VE)
jordan.vanosky@LIGO.ORG - posted 12:59, Friday 07 August 2026 (91446)
Corner RGA Scans - August 7 2026

RGA scans were collected for the corner volume using the new PrismaPro RGA. This RGA tree had been rebuilt and baked at high temp for 2+ weeks. Scan info below, raw data files will be posted to the DCC at T2600329.

RGA Model: Pfeiffer Prisma Pro

EM Voltage: 1200V

Dwell Time: 1s, 0-100 AMU, 10 pts/AMU

Valve States: GV5 & GV7 closed, FC2 & FC4 closed (Relay Tube removed & FCB-1 section common with corner)

Pumping: 3x 2000 l/s Turbo pumps, 1x 500 l/s turbopump (HAM6)

RGA filament has been on since 7/22 after RGA tree bakeout

Corner Pressure (8/7/26): 3.2E-7 Torr (PT120B)

Corner Pressure (7/27/26): 5.3E-7 Torr (PT120B)

Comparison plot showing partial pressure decrease after an additional ~10 days of pumping with turbo. Corner started high vacuum pumping on July 16th 2026 (22 days of pumping with turbopumps only)

Images attached to this report
H1 CDS
david.barker@LIGO.ORG - posted 11:09, Friday 07 August 2026 (91445)
DAQ CRC error trend over past 6 months

Dave, Erik, Claude

Claude AI wrote a python script to plot the H1 DAQ CRC rates for the past 6 months for all frontend and both DAQ legs (see attached). This plot only shows when an individual DAQ leg recorded a CRC error from the front end. The times there were CRCs on both legs were usually due to model restarts and not spontaneous errors, so these have been removed from the plot.

The vertial lines align with Tuesdays and possible maintenance activities.

General first thoughts are: over the long term the CRCs are fairly randomly distributed over front ends and DAQ legs; in the past week they have been concentrated on the 0leg and the two frontends iscey, seib1.

Images attached to this report
H1 General (SUS)
anthony.sanchez@LIGO.ORG - posted 08:05, Friday 07 August 2026 - last comment - 09:00, Friday 07 August 2026(91441)
Friday Ops morning shift report.

TITLE: 08/07 Day Shift: 1430-2330 UTC (0730-1630 PST), all times posted in UTC
STATE of H1: Planned Engineering
OUTGOING OPERATOR: None
CURRENT ENVIRONMENT:
    SEI_ENV state: CALM
    Wind: 3mph Gusts, 1mph 3min avg
    Primary useism: 0.01 μm/s
    Secondary useism: 0.06 μm/s 
QUICK SUMMARY:

I came in this morning to a Vacuum Alarm on H0:VAC-EX_X2_PT524_PRESS_TORR. Wait! Dont panic! Vac Team had already put in an alog about it
Other than that Every thing looks good.... EXCEPT:  the RMS 1 & 2 are saturating for some reason. Tagging SUS
This started to happen at a round 7  UTC .  I took those Suspensions to Safe.

Comments related to this report
anthony.sanchez@LIGO.ORG - 09:00, Friday 07 August 2026 (91442)

These Saturations were caused by the DC Centering Loops being turned on about 10 seconds after the IMC unlocked. They ramped up and started to saturate the suspensions all night. The solution was to kill the DC centering loops AND clear the History.


LHO VE (VE)
gerardo.moreno@LIGO.ORG - posted 05:12, Friday 07 August 2026 (91440)
X-End Station PT524 CC Tripped

Found PT524B cold cathode gauge tripped/off, turned it back on, now we wait for it to comeback.  Gauge was tripped yesterday around 23:49 utc.

H1 SQZ
sheila.dwyer@LIGO.ORG - posted 21:47, Thursday 06 August 2026 (91433)
SQZ loss measurements

This alog was intended to be a comment on 91436

This morning we continued to use the crane that Camilla and Ryan devised to try to get more reliable power budgeting measurements on the VIP.  Our previous measurements with the power meter held in a hand and hovering over the table consistently showed that we have something like 4% extra losses in HAM7, but they have not been repeatable enough for us to track down the location of the losses.  The crane set up helps us set the angle of the beam profiler head by using a clamp on the post, and also gives us much more steady measurements of power, so we were able to make some progress in identifying the location of losses.  However, we think that the power out of the OPO was drifting by 1-2% during these measurements, which makes the measurements less reliable for finding losses.  

We do think that we have about 0..8% loss at B:L2, where the difficult to align apperture stop is.  This apperture stop catches a rejected beam from B:P1 which is scattered light from the interferometer, so we need to keep it.  We looked for space to move it off the lens mount onto it's own separate mount, but the platform is very crowded with bases and dog clamps in this area, so that would not be an easy solution.  

For the naming of optics see:  D2000021

H1 SYS (CDS)
filiberto.clara@LIGO.ORG - posted 17:19, Thursday 06 August 2026 (91438)
Access System - EY

The UPS for the EY Access system that powers the network switch a camera failed this afternoon. Power to the cameras and switch was bypassed for now.

H1 SQZ
camilla.compton@LIGO.ORG - posted 16:58, Thursday 06 August 2026 (91436)
HAM7 Work - Thursday 6th August - ZM4 and ZM5 realigned after preload and chassis change, A:L2 Aperture removed, OPOS rebalanced.

Sheila, Ryan S, Camilla, Rahul

This morning Fil and Rahul go the ZM5 chassis working, 91431. Ryan checked the Strain gauge resistors didn't need adjusting after ZM4 preload adjustment 91416.  This afternoon we used the iris at ZM5 and irises on SQZT7 to realign ZM4 and ZM5 after this chassis swap and ZM4 offload. New ZM4 ans ZM5 settings: attached.

This morning Sheila and I checked more power budgets using craning over the OPOS. Sheila has the numbers but we convinced ourselves that the aperture at A:L2 is causing us to lose up to 2% power. But the aperture at B:L1 we are not clipping as we could not increase the power through it by moving FC1 (stepped ~20urad and then took the mean of 10s of data on the Thorlabs power meter).

This afternoon, after restoring the ZM4 and ZM5 alignment, we locked the OPOS suspension, removed A:L2 using the M2 screws in the translation stage and removed the A:L2 aperture. This aperture is dumping incorrectly polarized SQZ light, not IFO light so removing it will not cause any IFO backscatter. On replacing the aperture we added a small weight just upstream of A:L2, photo, to recenter the OPOS balancing,  photos attached of the three views.
We still need to run OPOS health checks. 
The light getting to SQZT7 was still clipping, by eye around SFI2, so Ryan and I then adjusted ZM2 (to center on ZM3 iris) and ZM3 (to retroreflect the beam). Sliders attached. Strangely, we get the unclipped beam when ZM3 was ~100urad off in YAW than what we thought the best retroreflecting centering was. Though with this unclipped setting we still cannot see that the beam isn't retroreflecting without offsetting in Pitch. We left it in this unclipped setting. The retro refection could be double checked. 
We then checked the beam centering on ZM2, photo, looked good. And beam height, again good, around 5.7", photo.
Images attached to this report
LHO General
thomas.shaffer@LIGO.ORG - posted 16:35, Thursday 06 August 2026 (91428)
Ops Day Shift End

TITLE: 08/06 Day Shift: 1430-2330 UTC (0730-1630 PST), all times posted in UTC
STATE of H1: Planned Engineering
INCOMING OPERATOR: Ryan S
SHIFT SUMMARY: Input alignment work in the morning, then the LVEA was transitioned to laser safe for some vacuum work on GV6. HAM7 crew got closer to closeout today.
LOG:

Start Time System Name Location Lazer_Haz Task Time End
14:43 FAC Kim EX n Tech clean 15:15
15:22 FAC Kim LVEA Y Tech clean 16:15
15:48 VAC Gerardo, Jordan LVEA Y GV6 cycle 16:23
16:04 TCS Camilla Prep Lab n Cheta stuff 16:31
16:15 SEI Mitch Ends n FAMIS checks 16:59
16:55 TCS Camilla, Tyler LVEA Y Cheta camera can fit check 17:25
17:02 SUS Fil, Rahul LVEA, CER Y Coil driver chassis swap ZM5 17:13
17:08 DAS Jenne, visitors Mids n DAS testing at mids 19:09
17:08 - Mitch LVEA Y Looking for parts 17:32
17:09 SQZ Sheila LVEA YES HAM7 work 19:29
17:22 FAC Kim MY n Tech clean 18:14
17:24 SEI Shoshana LVEA Y Turning off CRS laser 17:28
17:32 SUS Rahul CR n ZM5 TFs 17:41
17:38 SQZ Camilla LVEA YES HAM7 work 19:29
17:57 CDS Fil CER y Check on power supply fan 18:57
18:03 PCAL Tony, Caroline PCAL Lab Y Pack up sphere 19:00
18:42 SEI Shoshana LVEA Y Turn on CRS laser 18:51
19:23 FAC Randy LVEA n W bay cleanroom work 21:34
19:43 SEI Shoshana LVEA Y Plug CRS back in 19:49
20:16 SAF TJ LVEA - Transition to Laser SAFE 20:27
20:32 VAC Gerardo, Travis, Jordan LVEA n GV6 work 23:26
21:00 DAS Jenne, Wanda, Reinhardt LVEA n Scoping out for DAS 21:22
21:14 SQZ Sheila, Camilla LVEA LOCAL HAM7 measurements (Sheila out at 2302) 23:30
21:15 SQZ Ryan S LVEA LOCAL HAM7 measurements 23:15
21:48 SUS Rahul LVEA Y Check in wtih HAM7 crew 21:53
22:49 CDS Erik EX n Replace PUD controller ongoing
23:03 PCAL Tony, Caroline EX Yes Sphere swap ongoing
H1 SEI
shoshana.apple@LIGO.ORG - posted 12:45, Thursday 06 August 2026 (91432)
CRS Commissioning Update/Noise Hunting

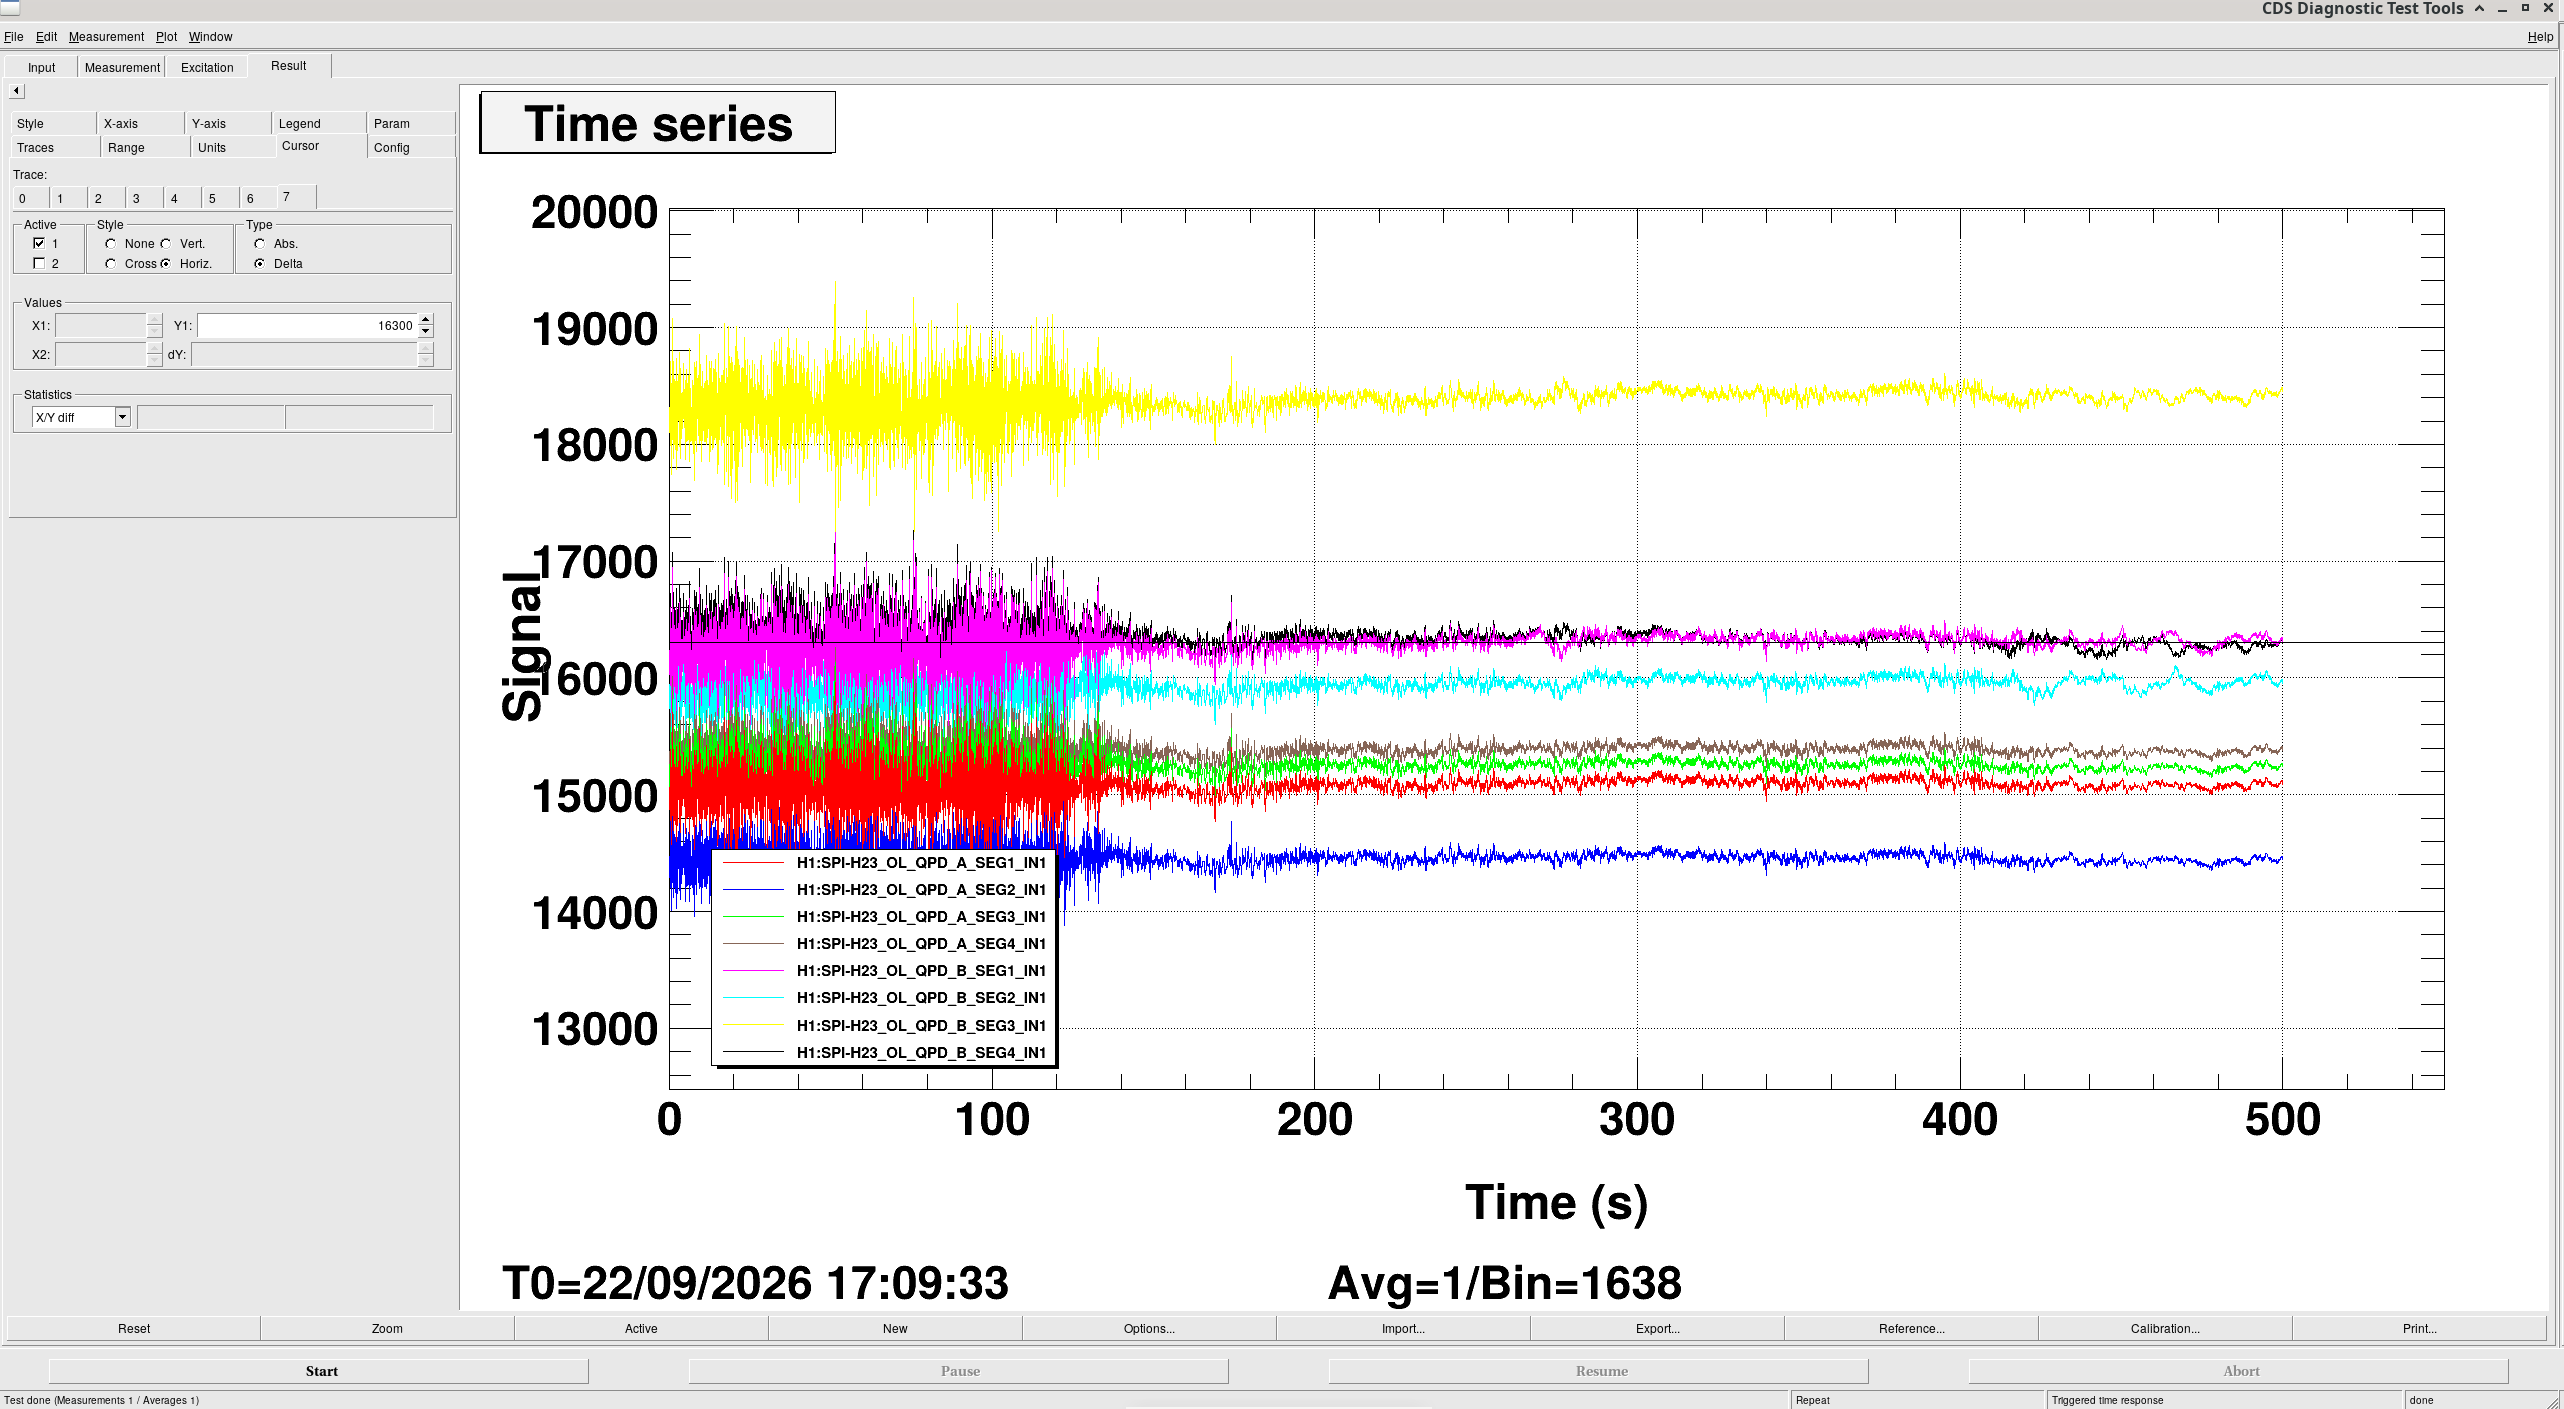
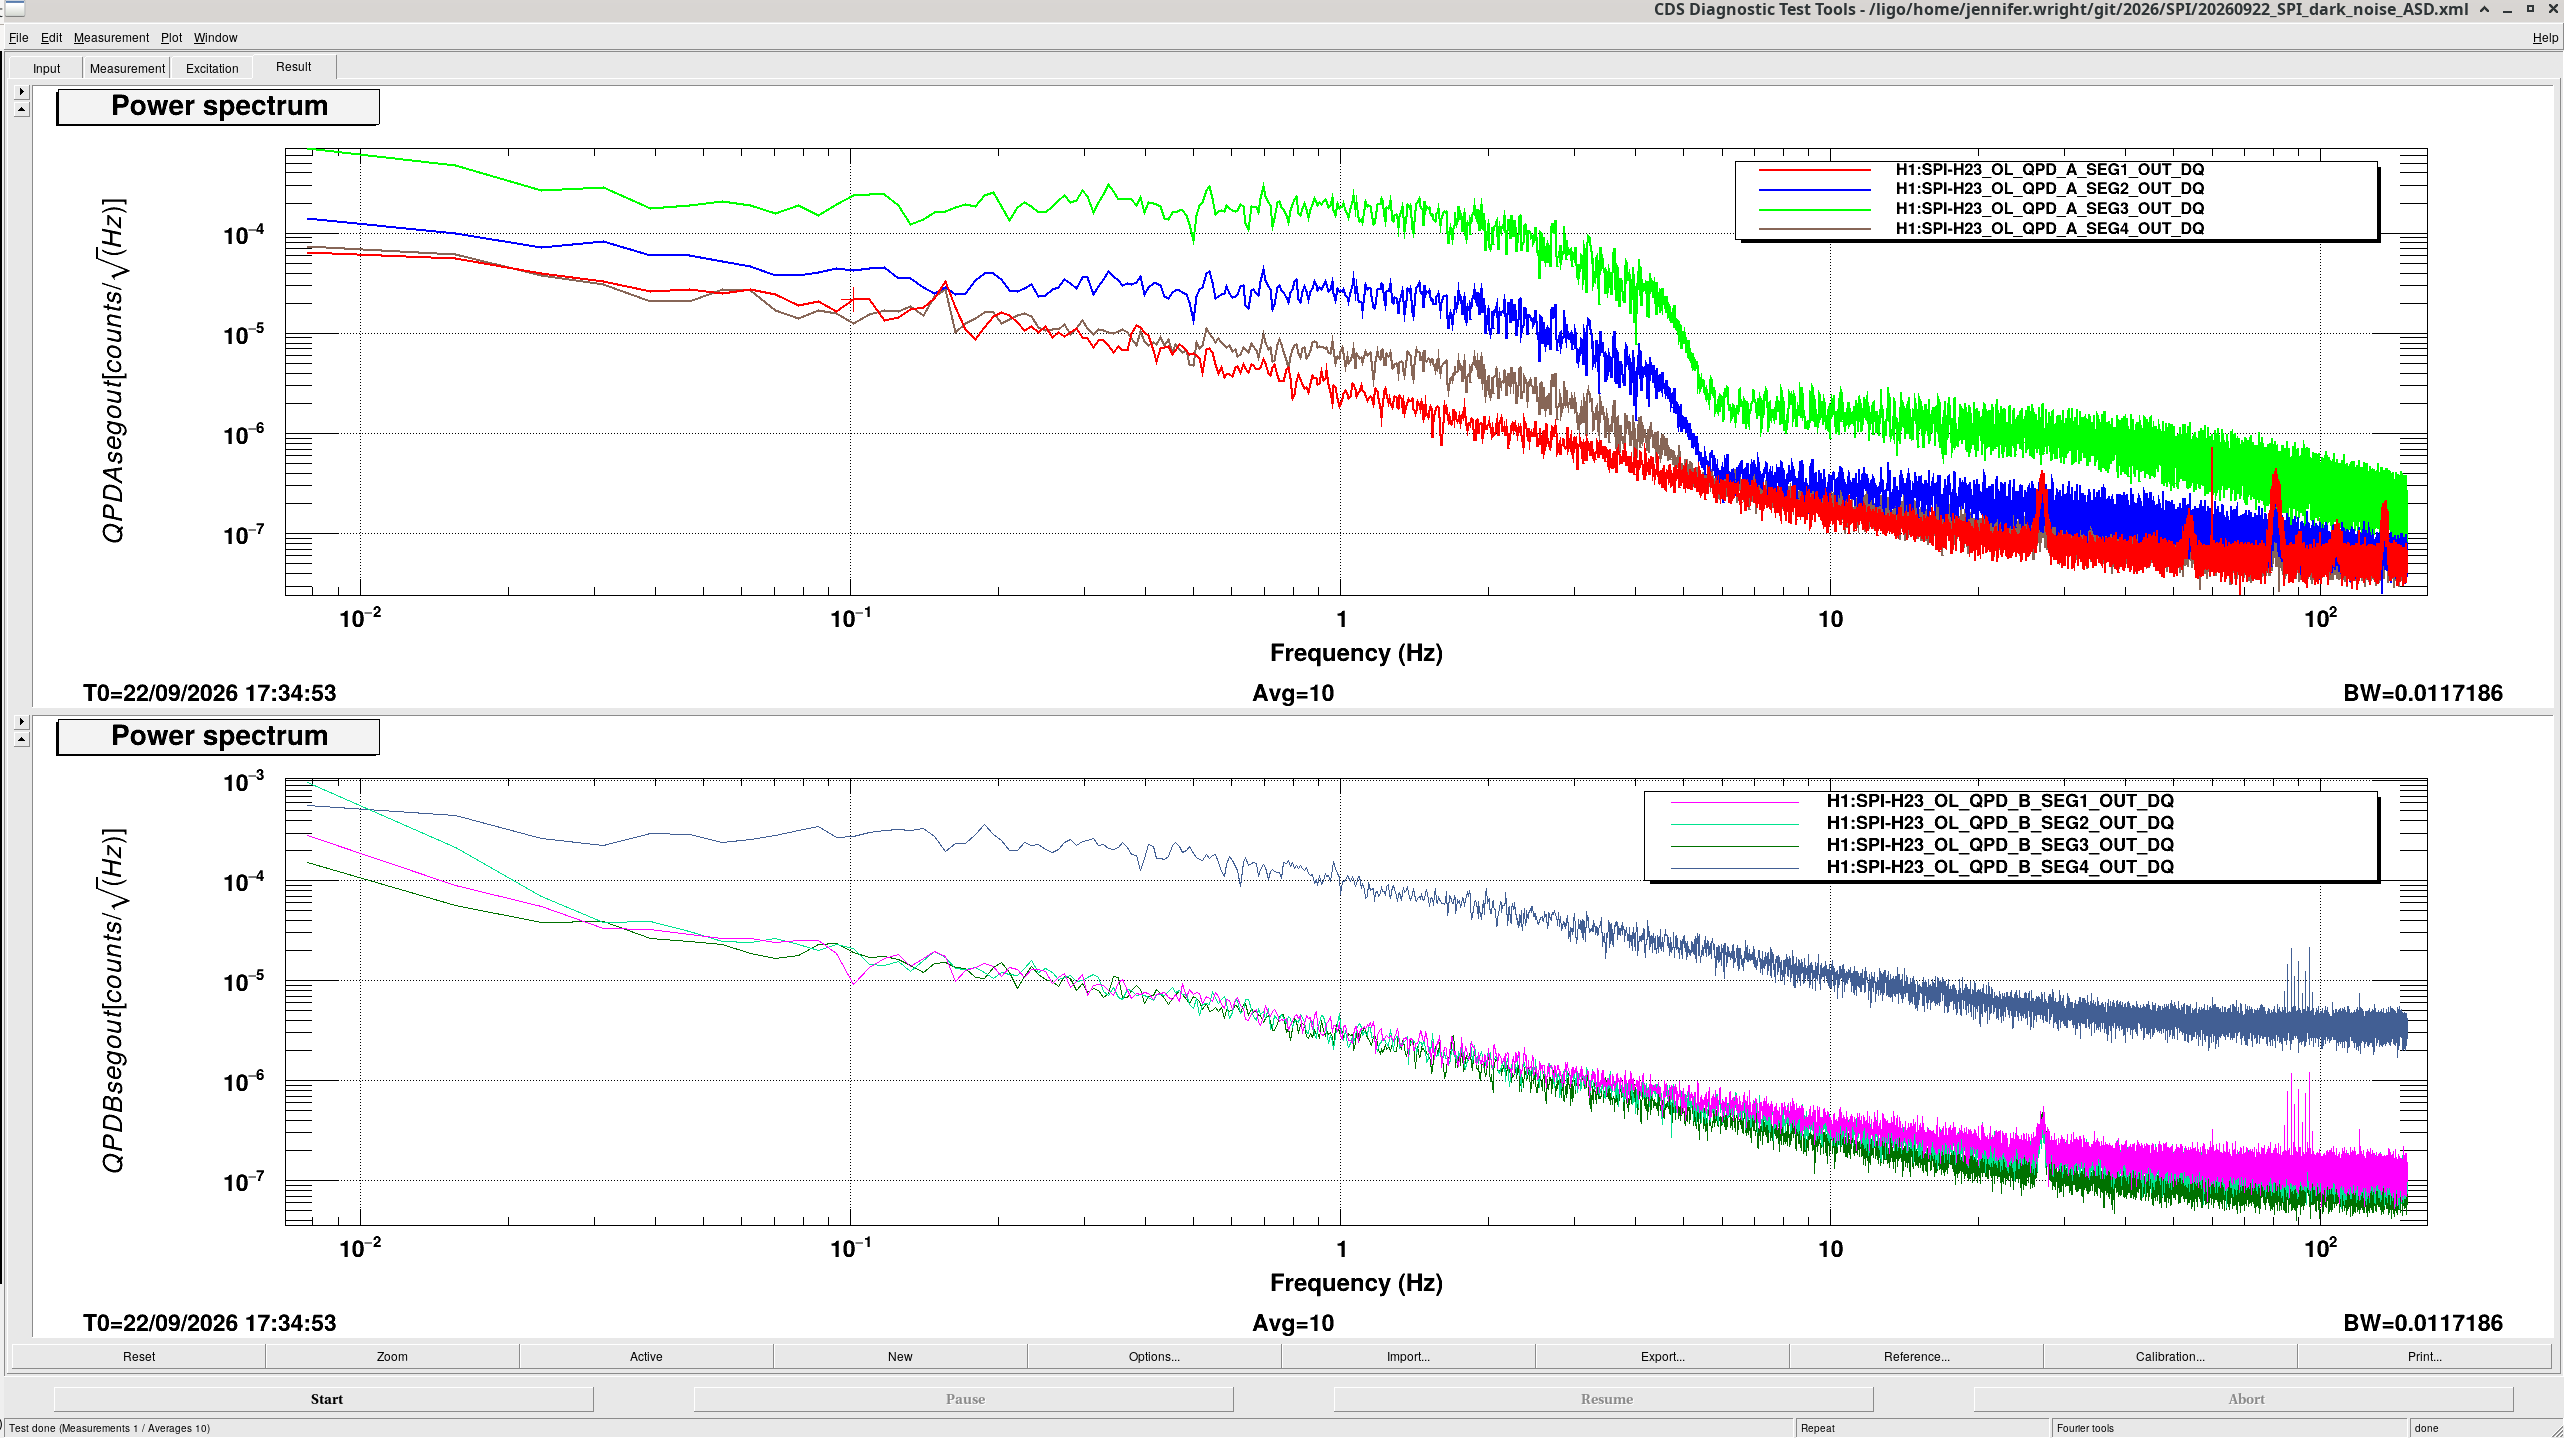
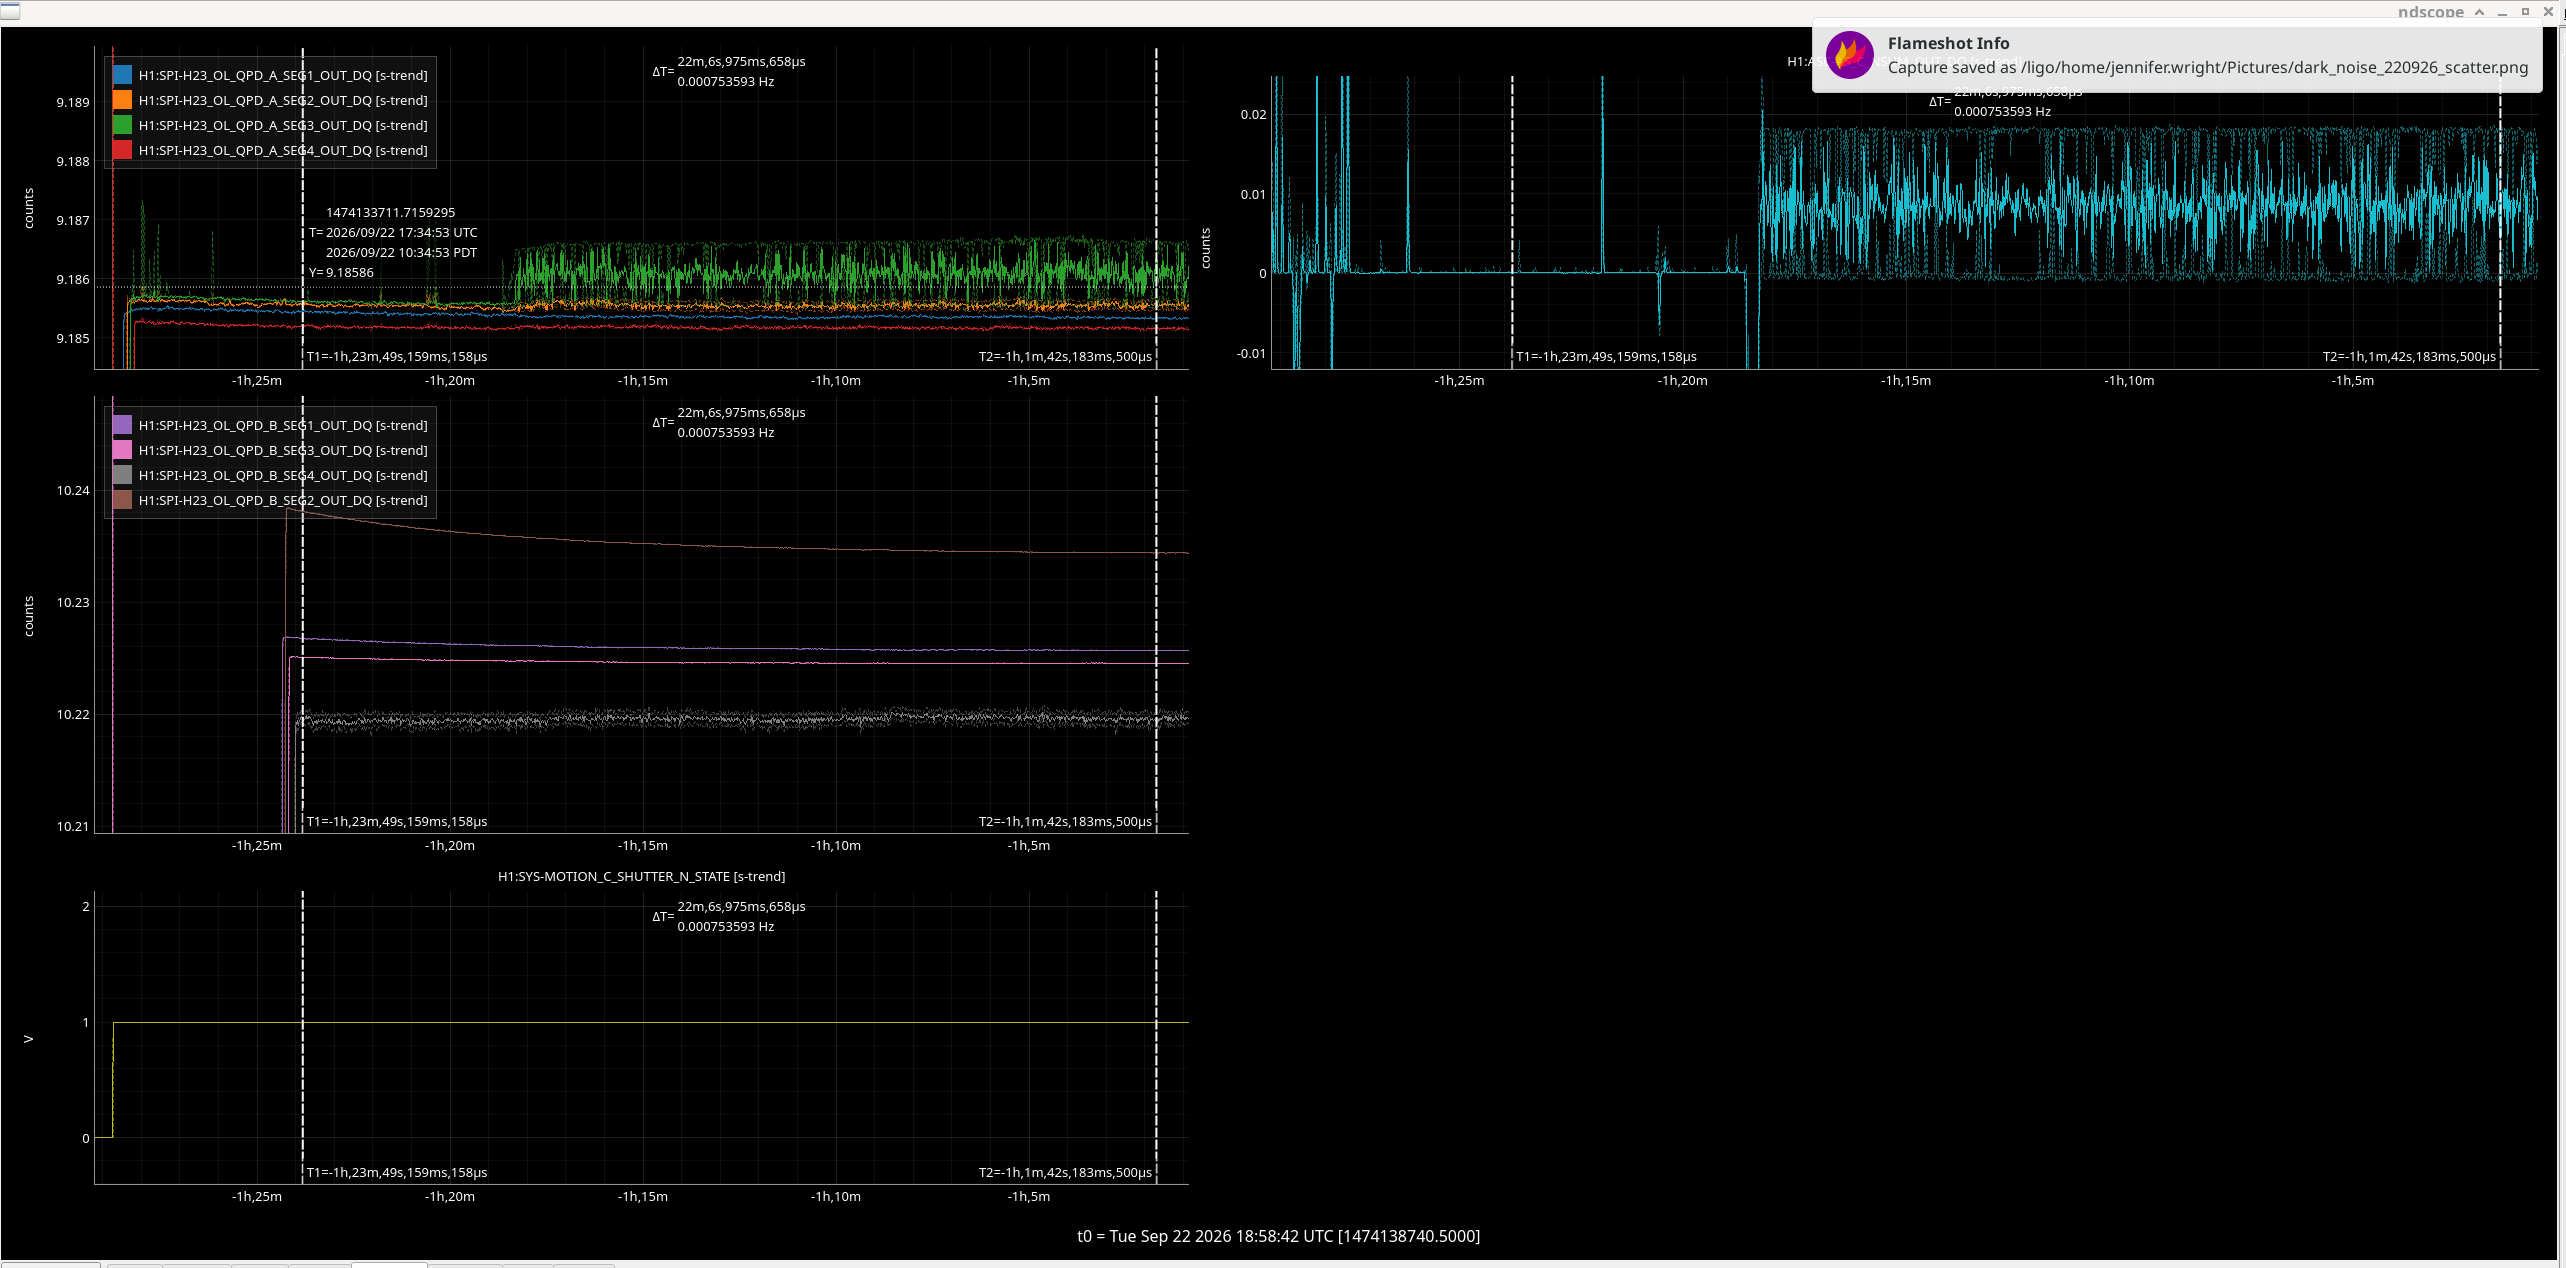
Started going through the list of tests from G2601523 to find/reduce the CRS noise.

Dark test (i.e. turning off the CRS laser)

Unplug HoQIs to get ADC Noise

Next steps are to add some copper on top of the laser to see if that reduces the noise, and then looking at the impact of the motion of the out of vacuum fiber once the LVEA is safe. The HoQI's will be re-connected to the pre-amp and laser turned back on so Jim can take some more transfer functions.

Images attached to this report
H1 SUS (CDS, SUS)
rahul.kumar@LIGO.ORG - posted 10:50, Thursday 06 August 2026 (91431)
ZM5 Coil Driver chassis replaced with 100 Ohm resistors - looks healthy now

Fil and Oli had already done this work yesterday, but Oli's result (posted in alog 91411) indicated that something was not right with ZM5 CD chassis. 

This morning Fil and I replaced it with the original chassis (was earlier used for ZM5 with 1.2kohm resistor) - however, Fil installed 100 Ohm resistors on this. 

Attached below are the screenshots for ZM5 L, P and Y dof. and they looks healthy - magnitude and peaks are in their place. 

ZM5 chassis installed today - D1100687, SN  S1200611 

Outgoing chassis - D1100687, S2001198

Images attached to this report
H1 AOS (PSL)
keita.kawabe@LIGO.ORG - posted 10:09, Thursday 06 August 2026 (91430)
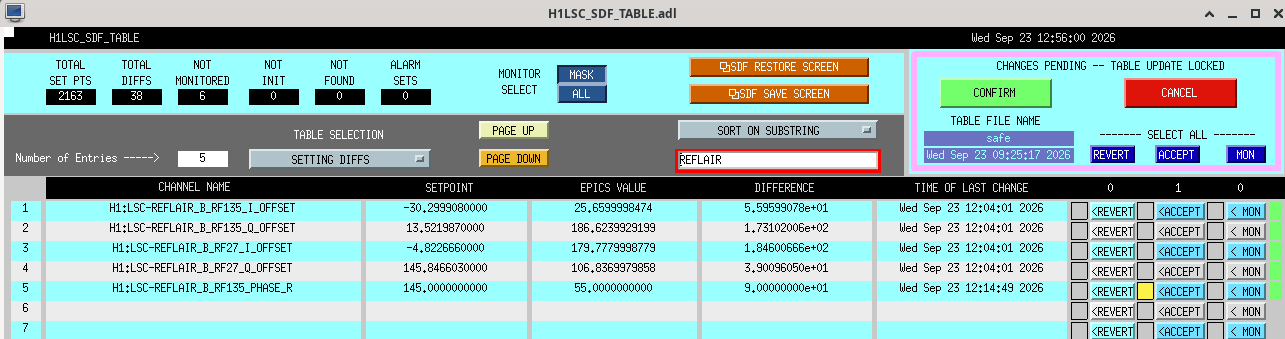
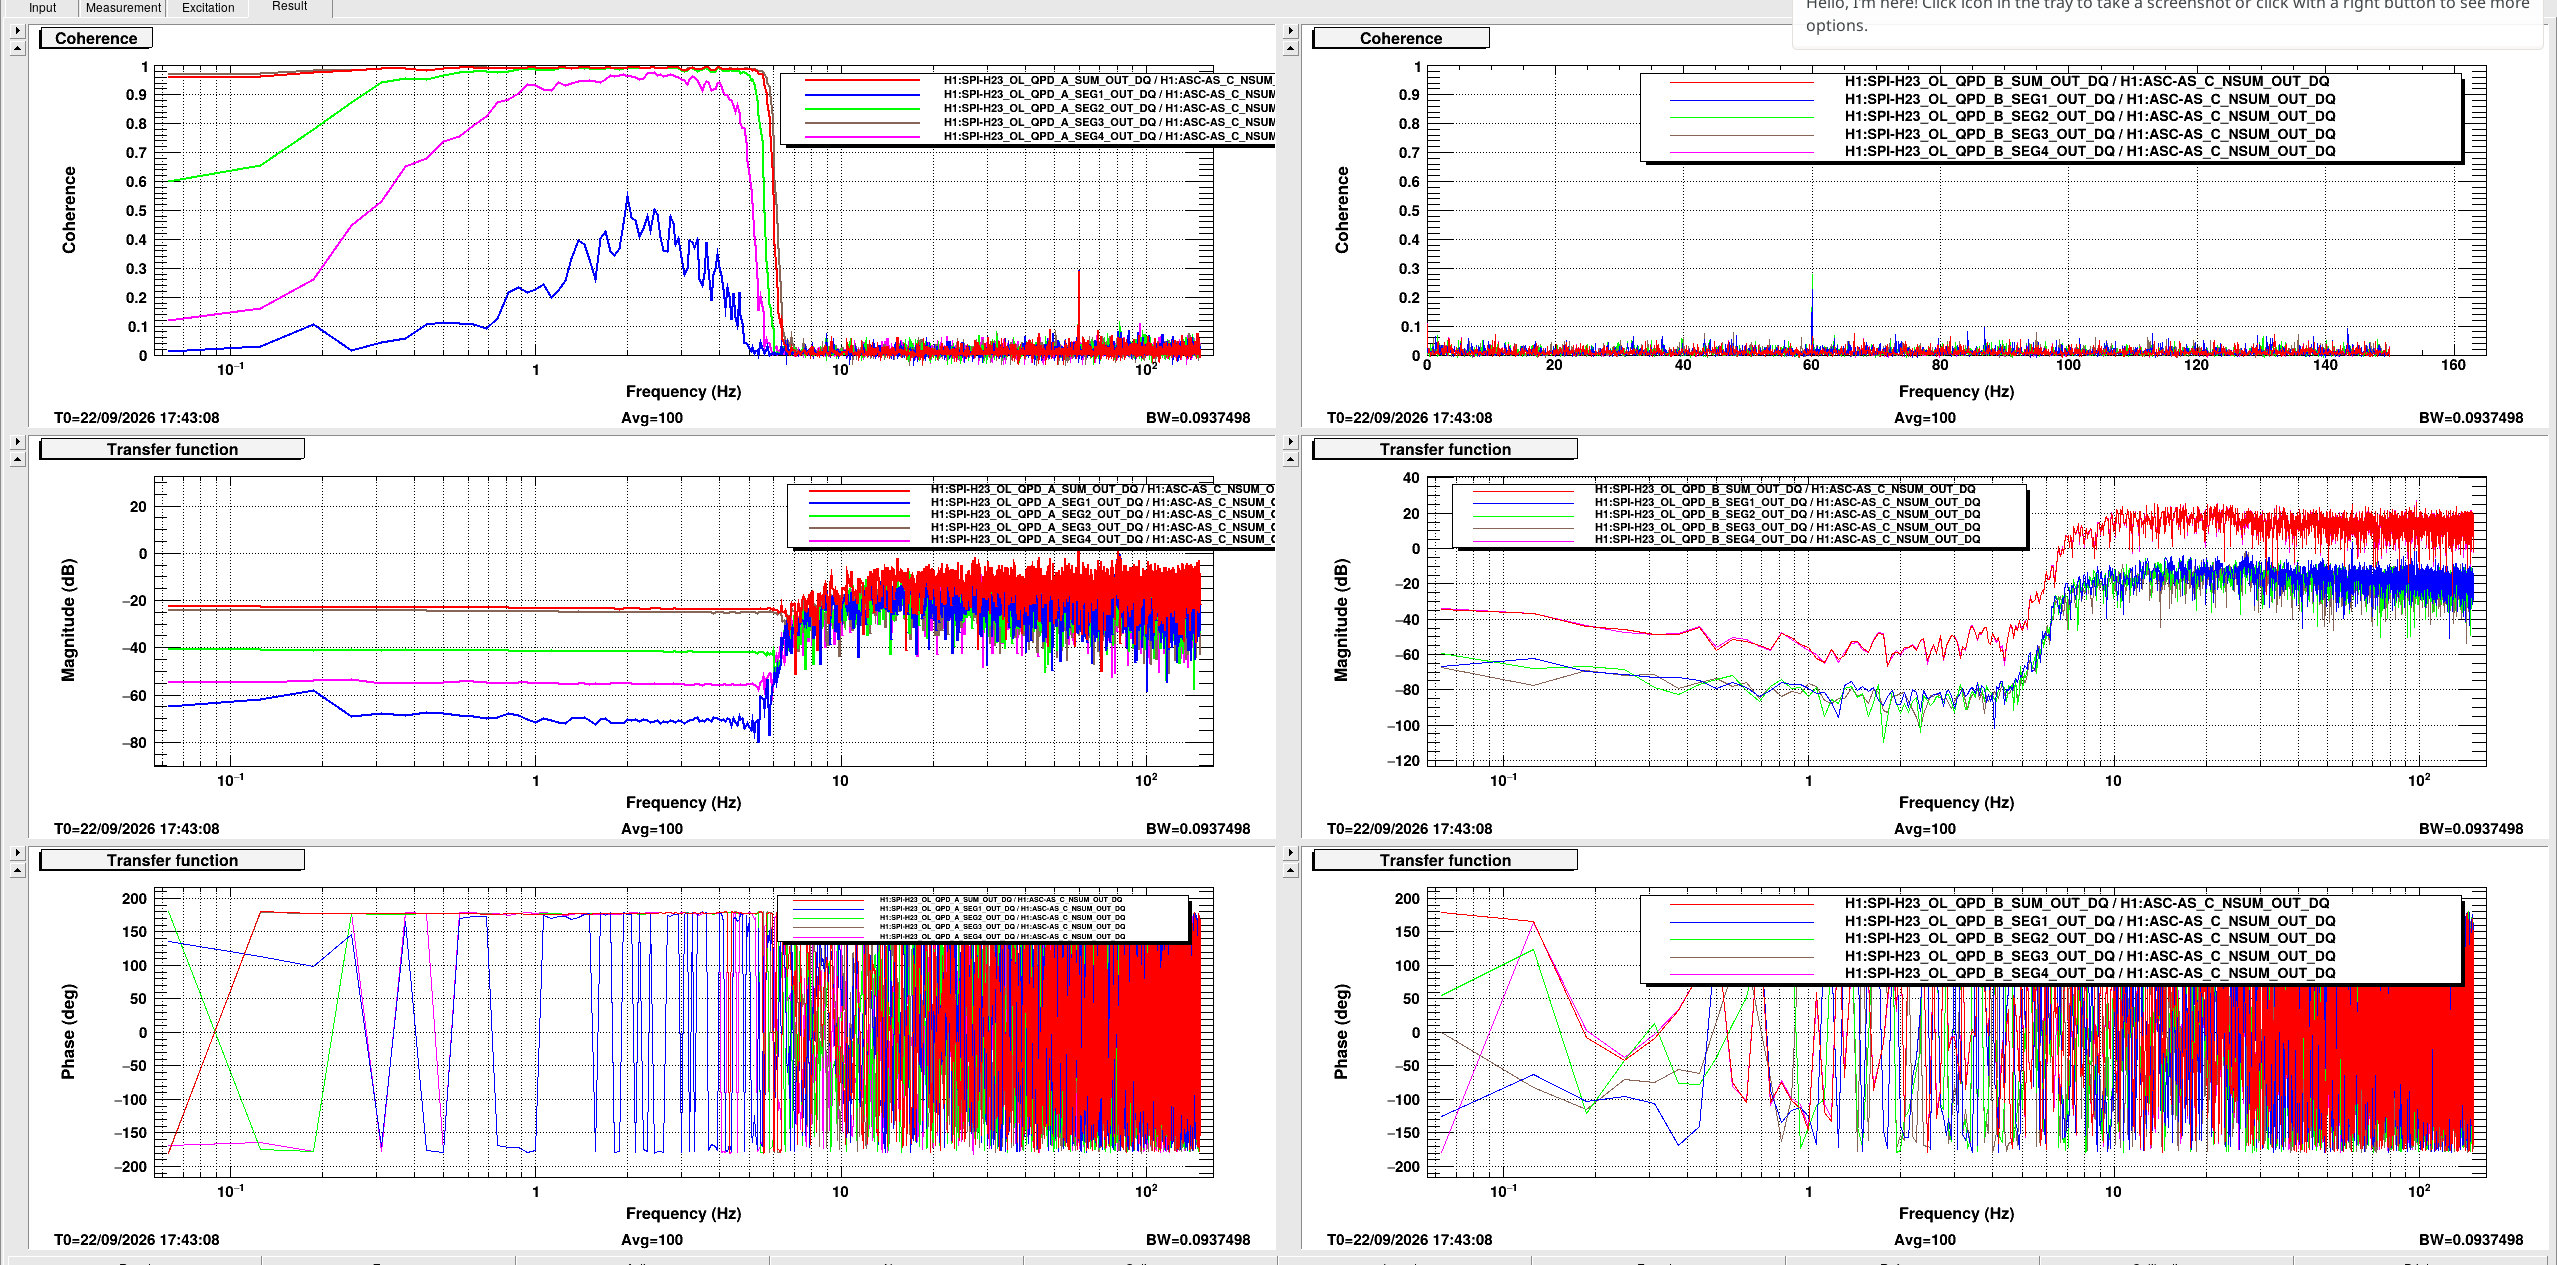
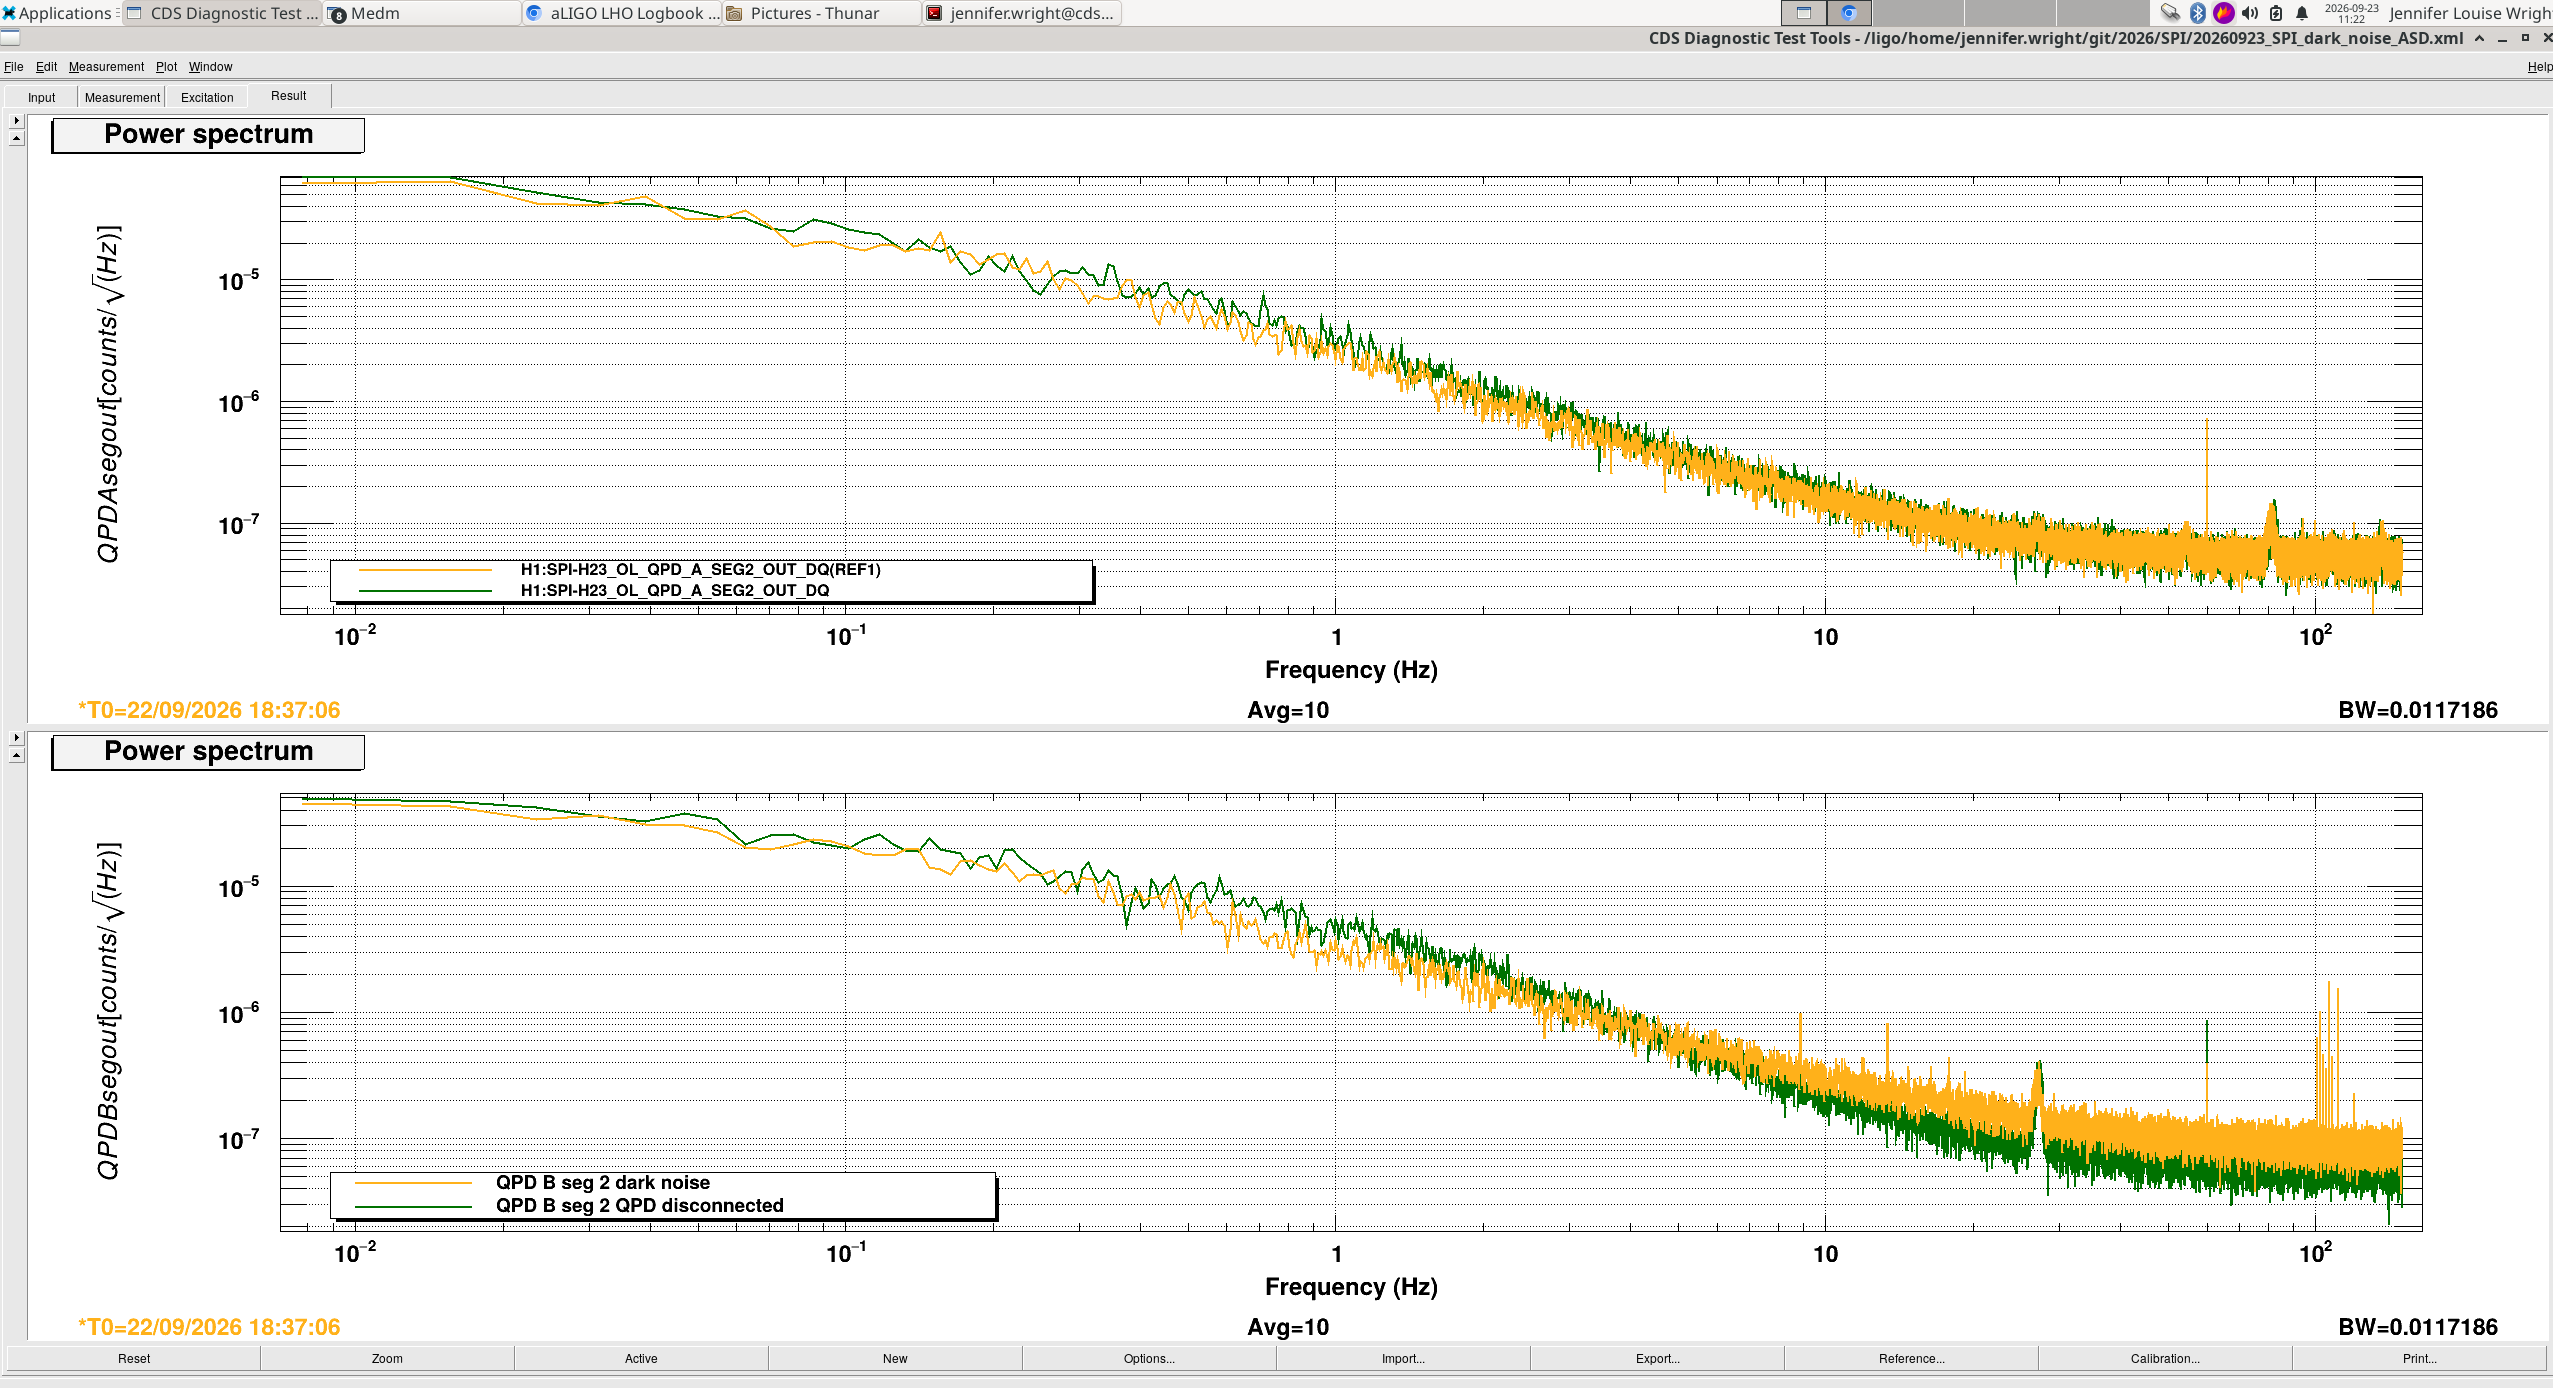
ISS 2nd Loop QPD unswwitchable whitening/anti-whitening mismatch again.

This has been wrong for forever, I fixed it at one point a long long time ago (alog 29798) but apparently didn't put it in SDF.

Anyway, FM4 of H1:PSL-ISS_SECONDLOOP_QPD_SEG filters named 0.4:40 was OFF, it should be ON all the time like in the attached screenshot.  When it's wrong the signal looks noisier than it actually is and is annoying even though it's not used for control and doesn't matter during observing.

I accepted the change in the SDF.

Images attached to this report
H1 IOO (IOO)
masayuki.nakano@LIGO.ORG - posted 09:11, Thursday 06 August 2026 (91429)
JAC heater settings

I changed the heater power from 0.8 to 2W, and the temperature increased up to ~25.4 degrees. The heater guardian setpoint was also changed to 25.41, and engaged at 9:07AM. 


H1 SEI
jenne.driggers@LIGO.ORG - posted 13:30, Friday 31 July 2026 - last comment - 14:41, Friday 07 August 2026(91353)
DAS system, tap testing to calibrate distances along fiber

Jenne, Wanda, Shoshana, Gizem

We started very early this morning to beat the heat, and performed 'tap tests' at various points along the length of the arms to identify positions along the length of the fiber (according to DAS) with GPS positions (according to Wanda's phone).

Spreadsheet attachment is information about where along the fiber Shoshana and Gizem identified our tapping in the data, and associated time stamps.  I've also copied the spreadsheet data to a google sheet, so that we can add to it.  

We tried to do more dense taps on the 'inside of the vertex' side of the arms, where the fiber actually is.  This required some walking out in the sand along the arms, so we had sun hats and knee-high boots and plenty of water.   We also did a few taps along the road during our drive back, to get some more coarse information along the length of the arms.  At the Xend station, there were too many tumbleweeds for us to walk along the inside-vertex side of the arm, so there at EX we did our more dense taps along the road side, with the exception of the EX vault location. 

In the attached photos, you can see some examples of our tap test method.  Gerardo provided us with a scrap piece of steel that we used as a strike plate.  We also borrowed a sledgehammer from the mechanical / vacuum parts lab.  For most of the Yarm, we only did 3 heavy strikes and Gizem and Shoshana chose the strongest signal from that as our time.  Once we were on the road-side of Yarm, and then for all of Xarm, we added some light tapping that seems to have helped identify which distance bin (called a "channel" in DAS terminology) we were closest to.  The photos are also labeled with X/Yarm, and position number, which corresponds to the position numbers in the google sheet - I tried to capture features in the photo to help identify where exactly the strike plate was.

Wanda has added to the google sheet the GPS locations that she identified while we were at each tap point.

The last photo shows our used (but can be used again in the future!) strike plate. 

Images attached to this report
Non-image files attached to this report
Comments related to this report
wandaelisabeth.vossius@LIGO.ORG - 17:40, Wednesday 05 August 2026 (91423)
I have attached some screenshots which show what the referenced path looks like for the x-arm. Further, it demonstrates how the optical metres of the fibre are now referenced to a certain co-ordinate. With this, we can now correlate any events that we detect to a physical location. In this software, a straight line is drawn between two referenced points. 
In picture 1, the whole arm is shown. 
In picture 2, it is zoomed in on the area around the corner station, showing the limitations in our technique as it is relatively rough considering we know the fibre is curving at this point. 
In picture 3, we see how hovering over the waterfall plot will produce a red point in the refenced fibre showing the location of this channel. 
Images attached to this comment
wandaelisabeth.vossius@LIGO.ORG - 14:41, Friday 07 August 2026 (91449)
And here are some more pictures of the georeferencing.
Images attached to this comment
LHO VE (VE)
jordan.vanosky@LIGO.ORG - posted 17:10, Wednesday 29 July 2026 - last comment - 10:50, Monday 10 August 2026(91314)
Seal Replacement on GV6 Air Cylinder

Travis, Gerardo, Jordan

During the closing of GV6 back in May, we noticed that there was some blow-by in the pneumatic system when trying to hard close the valve, see alog 90093

We were able to hard close the valve eventually but as preventative maintenance we wanted to replace the air cylinder seals, similar to GV7.

Prior to disassembly we measured the locations of the reed switches from the top surface of the bottom plate to the bottom surface of the reed switches:

Bottom Switch: 1 1/8"

Top Switch: 49 1/4"

We then disassembled the air cylinder and replaced the seals following procedure/notes collected during the GV7 repair. During cleaning of the old grease on the piston head, we noticed there were two burrs on the top of the piston, we did not notice any damage to the inside of the cylinder, but as a precaution we used a small flat file to remove the burrs. We also chased the threads on the four threaded rods with a die to aid with reinstallation. After cleaning and inspection of the cylinder tube, we found no issues or damage so we decided to continue to use that cylinder and keep the new one as a spare.

No other issues encountered, we removed the old seals, cleaned the grooves, added copious amounts of the supplied grease to the o-rings, seals and the inside of the air cylinder, and then re-assembled the cylinder tube. Pictures posted below and a final procedure is in progress and will be posted to the DCC.

We did not get a chance to cycle the valve after the seal replacement, so we will continue tomorrow with cycling the valve.


Images attached to this report
Comments related to this report
jordan.vanosky@LIGO.ORG - 16:04, Thursday 30 July 2026 (91333)

We were unable to fully open GV6 today after the cylinder repair. We heard the clunk of the gate camming over at 45 psi, but it did not start to raise until 55 psi, at which point we could hear air blow-by at the solenoid manifold, and up at the cylinder itself.

So we stopped trying to open the valve any further and slowly reduced the regulator output in order to bleed out the accumulated pressure on the bottom side of the piston. This lowered the gate back down and we heard the gate touch down indicating it is soft closed.

We will have to disassemble to air cylinder again and see what may be the issue. We still have 4 sets of replacement seals and one brand new air cylinder on hand if needed.

The valve remains soft closed until we are able to troubleshoot and repair the cylinder.

jordan.vanosky@LIGO.ORG - 17:45, Monday 03 August 2026 (91378)

8/3/2026

Travis, Gerardo, Jordan

Today we again disassembled the GV6 air cylinder with the valve soft closed to try and see what may have been causing the air blow-by which prevented us from fully opening the valve last week.

We did not find anything immediately obvious such as a seal that had jumped out of the groove, so we measured the ID of the original air cylinder, which was re-used, and found that it was ~0.01" larger than the ID of the spare cylinder (original ID ~8.015", spare ID ~8.005"). We then elected to use the spare cylinder instead to make sure there is good sealing contact with the cylinder wall, so we re-distributed the grease on the new cylinder and attempted to install over the piston, but the tube seemed to be slightly out of round and would not fit over the piston. So we flipped the tube 180 degrees and measured that side of the tube and found it was better. We again added grease to that side of the cylinder and installed it over the piston, ensuring the seals and wear band stayed in place, Then we re-installed the threaded rods, torqued the nuts, installed the reed switches and installed the air lines.

To verify all the new joints/connections were ok, we put ~10 psi to the top of the cylinder and then to the bottom to see if there were any leaks. There were none so we started to open the valve by increasing air pressure at the regulator, once we got to ~25 psi we could hear and feel air coming out of the bottom plate/adapter flange below the cylinder assembly, see picture below the area where air is coming out of is circled in red, at which point we stopped trying to open the valve and closed the quarter turn isolation valve to the air line.

We spoke with a GNB rep who advised we try to to open at a higher pressure and see if the bottom seals, so we then tried to open the valve again. This time we started at 20 psi and followed our normal opening procedure with the exception of increasing by 5 psi instead of 10 and waiting 3 minutes between increases. At ~35 psi, air stopped leaking out of the bottom flange, there was no air blow-by in the cylinder and we could hear the carriage starting to move. The gate fully opened at ~48 psi and Gerardo was able to take a video where you can hear the piston incrementally move up the cylinder. We increased the holding pressure to 58 psi and verified the MEDM screen showed the valve status as green.

Images attached to this comment
jordan.vanosky@LIGO.ORG - 17:10, Thursday 06 August 2026 (91437)

8/6/2026

This morning we wanted to soft close GV6 to see if the scraping/squeaking sound continued, or if grease just need to be distributed in the cylinder. Following our normal soft close procedure,we still heard the same noise as the piston moved down. 

We decide to swap the cylinder one last time to the spare cylinder which removed from GV7 back in May. This cylinder had an ID of 8.004" on both ends. 

During the removal of the "sticky" cylinder, we saw there were some small metal shavings on top of the piston, so we decided to remove the seals and install new ones to make sure there is no damage or debris that could cause sealing issues. We added grease to the new seals/o-rings, and the inside of the cylinder, then re-assembled the cylinder/threaded rods/nuts. 

An updated cylinder repair procedure in the works at E2600176.

Once we were done with the cylinder assembly we opened the gate valve to test functionality, and see if there were any leaks in the cylinder. We again heard air coming out of the bottom flange, same as the entry above, but once we got to 35-40 psi the leak stopped and we could hear the carriage moving up. This time there was no excess noise or dragging, and the valve fully opened at 48 psi. After of ~10 minutes with the valve open, and we confirmed there were no leaks in any of the newly assembled joints, we soft closed the valve, again there was no excess noise or dragging of the piston. This is what we typically see/hear when actuating the pneumatic valves.

GV6 remains soft closed for now, closing WP 13471

melina.fuentes-garcia@LIGO.ORG - 10:50, Monday 10 August 2026 (91460)

Videos related to alog 91378 above (original .mov files compressed to be able to upload in alog)

Non-image files attached to this comment
LHO VE (VE)
gerardo.moreno@LIGO.ORG - posted 18:06, Monday 27 July 2026 - last comment - 18:31, Thursday 06 August 2026(91270)
BSC6 Annulus Ion Pump Work

(Jordan, Travis, Gerardo)
We removed and replaced the AIP for BSC6, no real complications while doing the work.  However the joint at the AIP and the isolation valve has a tiny gap towards the bottom, we started pumping down on the system and it appears to be a solid union, we will go and visit tomorrow and see how the pressure is doing.  On a side note we did find a flex metal hose that has a leak, it has been removed from circulation.

Comments related to this report
gerardo.moreno@LIGO.ORG - 18:40, Tuesday 28 July 2026 (91301)VE

After checking on the pumpdown progress at BSC6 annulus system, the rest of the components were put back, controller was reinstalled, cables were connected (power supply, high voltage, and comms cable) and the annulus ion pump was powered on, it did not take long to reach good vacuum pressure.  Aux-cart and can turbo will continue to pump the annulus sytem until it reaches an acceptable vacuum pressure.

Images attached to this comment
gerardo.moreno@LIGO.ORG - 18:31, Thursday 06 August 2026 (91439)VE

(Travis S., Jordan V., Gerardo M.)
Late entry.
After a few days of pumping down the annulus system, on Monday 8/3/26, the can turbo and the aux-cart were removed from the annulus system at BSC6, the ion pump and annulus system are back to nominal.

Images attached to this comment
H1 AOS
keita.kawabe@LIGO.ORG - posted 17:34, Tuesday 09 June 2026 - last comment - 10:49, Thursday 06 August 2026(90536)
Monday afternoon HAM123: Mostly done, one mystery scattering somewhere in/on the IFI assy (Disha, Rahul, Keita)

Summary

Whatever happened to IM1, Rahul did make it better again. Reasons for improvement is unknown but we proceeded with the alignment and we're mostly done.

There is a mystery scattering or maybe clipping somewhere close to the IFI output but not on the output baffle nor DKDP baffle. It could be a scatter from the CWP surface, or a ghost beam somewhere, or something else. It will take a LONG time to diagnose this, and quite likely this existed for a long time. I'm tempted to leave it at this time. But I'll try to take some more pictures.

There's also something weird about the 1st pico mirror PIT actuator for ISS array.

We'd still like to take pictures/measurements here and there on Tuesday.

Done: ASC REFL centering

Following the morning work (alog 90525), REFL ASC censors were centered using RM1 and RM2. About ~30% of DAC range was used for RM2 (RMs_happy_again.png). FYI, using flash peak, [P,Y]=[-0.003, 0.015] for REFL_A and [-0.020, 0.001] for REFL_B. (Doesn't matter how close these are to zero as far as they're within +-0.1 or so and the SUM is decent, but it feels better to be able to get close to zero.)

Done: ISS array centering

Then we looked at the ISS array and the QPD was not centered. A quick adjustment of the second pico that is closer to the array was all it needed (keita_ISS_happy1.png). [P, Y]=[-0.03, 0.05].

Done: IFO REFL baffle (HA13) adjustment

We looked at the IFO REFL baffle (HA13) in front of the HAM2-HAM3 septum window and it was too high even though it was not clipping, so we lowered it by a couple mm. Before: lower edge height = 105.5mm; upper edge = 206.8mm. After: lower edge = 103.6mm; upper edge = 204.5mm.

This baffle was already moved by a couple mm in +Y direction last week (because the beam was closer to +Y edge). See  IFOREFL_baffle_before_relocation.jpg and IFOREFL_baffle_after_relocation.jpg though it might be difficult to see the difference from this picture.

IFO REFL beam looked like IFOREFL_HA13_baffle_after.mov after the height adjustment.

Mystery flashes seen inside IFI output baffle aperture

We proceeded to check the IFI output baffle and I was bothered to find that something that looked like clipping was visible close to the left edge of the baffle using the IR camera. See IFI_OUT_clipped_720p.mov, this is a view from +Y door. But this was less frequent than the flashing itself. In a retrospect, this was probably the reflection from the PRM when the beam was swinging to the left of the video, but anyway we did various things:   

See IFI_out_another_view.mov, this is after the beam quieted down enough and after PRM PIT was changed. The bright thing at the left side of the baffle hole is not visible any more, but you can still see bright-ish scattering of some sort inside the baffle aperture which was there even when Rahul blocked the beam between PRM and IM4. IFI_out_another_view.jpg shows the same thing but with more useful exposure. This is concerning.

DKDP baffle behind the IFI output cwp baffle looked OK (IFI_DKDP_baffle.mp4). BTW, as was reported before, it looked to us that the IFI output baffle has an offset in -X+Y direction relative to DKDP. In the video, the beam on DKDP is slightly biased to the right on average because we tried to split the difference between two baffles.

We moved IM1 in YAW by +-200urad while observing the IFI output by IR viewer to see if there is a better beam position on IFI output. It seemed to me that actually we don't have much space here.

Look at IFI.png to see how the beam is routed through DKDP, output CWP and then passes by the parking beam dump pick-off.   

We'll be better once we're in vacuum because things will be quieter and the MC alignment will be better, so no beam motion and no HOM transmission, but I have to say that the clearance here looks to be unnecessarily narrow. I will NOT touch IFI itself so the only option for mitigation will be to move the parking BD pickoff, but it will be tedious to align that pickoff to steer the beam into the beam dump on top of HAM2. Given the limited time available I'll leave it as is.

We don't know what this scattering is, maybe it's the AR reflection of CWP or DKDP hitting something, maybe it's the surface scatter of CWP. I'll try to take the video from the back of the IFI output beamdump/CWP using a big inspection mirror.

Done: IM4 TRANS centering.

Rahul used pico mirror to roughly center IM4 TRANS while I was monitoring individual segments. IM4TRANS_ROUGHLY_BALANCED.png

Done: IM4 baffle (HA12) moved

As planned. The beam originally was offset in +X direction (IM4_HA12_before.jpeg shows the original location, IM4_baffle_HA12_before.mov shows the beam position), IM4 baffle was moved a bit in -X direction (IM4_HA12_after.jpg, IM4_baffle_HA12_after.mov).

Done but not really: Picturing the picos, one concern for the first ISS pico actuator.

We took three pictures (ISS_1st_pico.jpeg, ISS_2nd_pico.jpeg and  IM4_TRANS_pico.jpeg) but they're not great, the 2nd pico for ISS and the pico for IM4 TRANS don't show how much thread is left for the YAW actuator at all.
The 1st ISS pico is concerning in that the PIT actuator might have lost the ball tip or the stop ring got loose. Will investigate further tomorrow.
Images attached to this report
Non-image files attached to this report
Comments related to this report
keita.kawabe@LIGO.ORG - 14:04, Wednesday 10 June 2026 (90545)

Tuesday update:

Picos

We took new pico pictures today. All picos seem to have decent threads both ways, nothing is close to mechanical stops.

Potential issue I was worried about was that the pit actuator stop ring for iss array pico 1 might be directly contacting the aluminum frame of the mirror holder, which means that the ring got loose or maybe the ball end was lost when it was assembled. See ISS_array_pico1.jpg, the ring is circled in red. I tried to rotate the ring by finger while holding onto the actuator screw so the latter won't rotate, and couldn't move the former. It's not like the ring is loose. Also there seems to be a gap between the ring and the mirror holder frame. Also see ISS_array_pico1_zoom.jpg. These rings were manually removed and put back on during the initial assembly, so my guess is that this specific ring was set shallower than other actuators from the beginning. It's fine.

Beam position in front of PRM was OK

We confirmed that the beam position in front of PRM was pretty good without any adjustment of IMs.

Sliders snapshot

See the screenshot of alignment sliders as of now (even though HAM2 suspensions are in safe mode now, slider values should be valid).

Mystery scatter/whatever update

See alog 90549. I don't know what that is, but it is not the main beam clipping. I recommend to move on. See how Disha, Jennie, Rahul (and myself) feel.

Remaining tasks

Ground check in HAM2/3 for IO/PSL/ISC.

(Added later: Forgot to attach the photo of the retroreflection check iris, so here it is. retro_check_iris.jpg. Each time the IM2-IM3 line changed the iris itself had to be recentered, and then the return beam should be centered on the iris using PRM.)

Images attached to this comment
keita.kawabe@LIGO.ORG - 10:49, Thursday 06 August 2026 (91434)

Note that the anti-whitening in FM4 of H1:PSL-ISS_SECONDLOOP_QPD_SEG filters were all OFF, though it should have been ON.  (Explanation about this in alog 29798.)

This means that the signal was amplified by a factor of 10 for frequency higher than 4Hz.

It's still useful to look at the relative peak heights between segments but don't trust the absolute value. Same thing for H1:PSL-ISS_SECONDLOOP_QPD_SUM and NSUM.

Displaying reports 141-160 of 88941.Go to page Start 4 5 6 7 8 9 10 11 12 End